Off we go !
It’s been a while… a long time… after finally getting all the stuff I suppose things got kind of quiet in here. Well… I have to admit I was having so much fun building that writing about it became a chore and I kind of got behind.
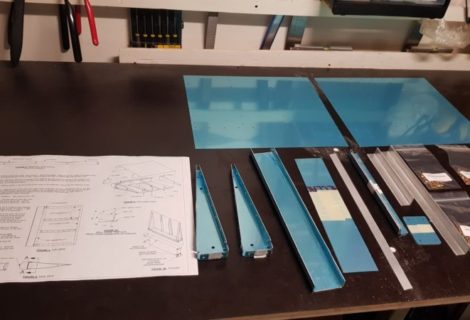
So here’s some catching up and reflecting on those first steps dealing with the Horizontal Stabilizer. The HS comprises a number of techniques that come back after the practice project so there was a sense of familiarity dealing with the parts. Having clecoed them together and admired at how wide those two HS rear spars are when assembled it was time to dig in and get to work.

The first task for the Horizontal stabilizer is breaking the edges of the HS-609PP’s two reinforce the rear spar. The ends need to be rounded off and already here it is important not to remove to much material. They are basically cut to length so almost no material needs to be removed on the end while “rounding off”. It’s a first encounter with the Scotchbrite wheel where you need to consider what you are doing and go slow. Below is a pic of the before and after, having done one of each.

At the same time the edges of these aluminum bars should be rounded according to the plans so that they fit snug into the spar web. Well… They fit nicely in there right out of the box. No rounding of edges needed. I double checked a few times with the plans and while very minute milling marks are visible on the sides, just a bit of cleanup with ruby Scotchbrite pads took care of those marks and gave a very smooth finish.
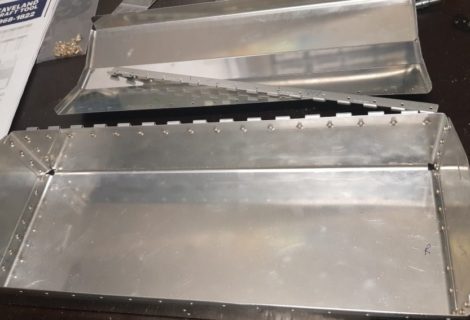
Next step was clecoing it all together and adding the hinges. The hinges come powder coated and ready to add to the rear spars but they do need to be drilled to the right size so this is where double and triple check of the correct drill size comes in. Also underlines the different materials. While drills cut through aluminum like butter, it is clear a fresh drill bit makes a difference on those steel hinge parts.
All hinges get clecoed in place and then their holes get individually match drilled to the correct size. Most holes are done with a #30 drill but there are a few other holes that get drilled to larger sizes (to fit a bolt).

The centre hinge has a bearing which gets drilled together with the brackets. They get cleco/clamped together and then drilled through for a perfect fit. This is a first time where those cleco clamps come in handy. They were part of the standard RV kit at Cleaveland and already it is clear that the kit has most of what you will need.
VA-146 is the bearing that goes between two brackets and needs to be primed as it is bare aluminum but I have decided to gather some more parts together and prime parts in batches so the riveting together of these parts is postponed till later. In order not to forget I am omitting the “done” box on the instructions so that I can clearly spot those items later on.

I am marking all those powder coated brackets so that I can remember which goes where. These sharpie pens do a good job at that. I tried some other pens but somehow the ink doesn’t “stick” as well to those surfaces.
With all brackets in place their holes get drilled to final size


