Toolbox project
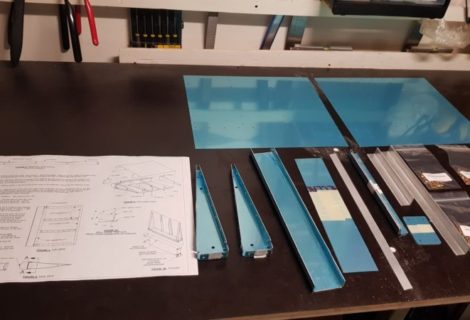
With the mobile phone stand finished it was time to tackle the second practice project. Van’s offers a practice project where you make a toolbox, using various techniques which will also be applied to the aircraft.

Most of the parts come preformed but need trimming, final drilling etc..
It was a great next phase as the mobile phone stand was rather small and this gave the opportunity to try some bigger parts and some bigger instructions. The familiarity with rivet sizes was already there so I was curious what to pick up from here. Deburring went fine but the narrow space in the corner gave an interesting challenge how to clean up the edges in those tight spaces. Eventually I went with a fine round file along with some scotchbrite to smoothen the edges there.

Cutting the hinge to size actually went very easy with the snip I had bought earlier (Stanley). It cut through that metal like butter. Fitting and clamping the hinge in the final spot went quite easily and I was happy with the result. Those cleco clamps came in perfect for this job.

Drilling went fine as well as went the dimpling with the squeezer. This also provided the first time that I had to use the long 4” yoke on the pneumatic squeezer so I was happy that I got that right from the start.
The bottom rivets however had to be bucked so those were going to be the first rivets with the rivet gun. Having read a lot about riveting it was actually very unlike anything I had read before. It was actually necessary to hold the bucking bar quite firmly against the surface and the rivet gun did hammer away quite a bit. At a later stage I found out that reducing the pressure a bit did help out with the accuracy.

Final bending of the handle in the vise also went quite well (proud of myself there haha) so after about 4.5 hours of work I ended up with a toolbox.
Learning points were many:
- Learn to play with the pressure on the rivet gun. Lower pressure resulted in better accuracy
- Keep the pneumatic squeezer well supported. 1 rivet was bad because of lack of pressure on the head, resulting in material sqeezing between both surfaces
- Same as before. Having moved the squeezer resulted in half a rivet being squeezed. That wasn’t pretty but hey… I’m learning.
End conclusion : Yes I’m learning and oh I still have a lot to learn but very happy that I have practice projects to mess up instead of the real thing!


